
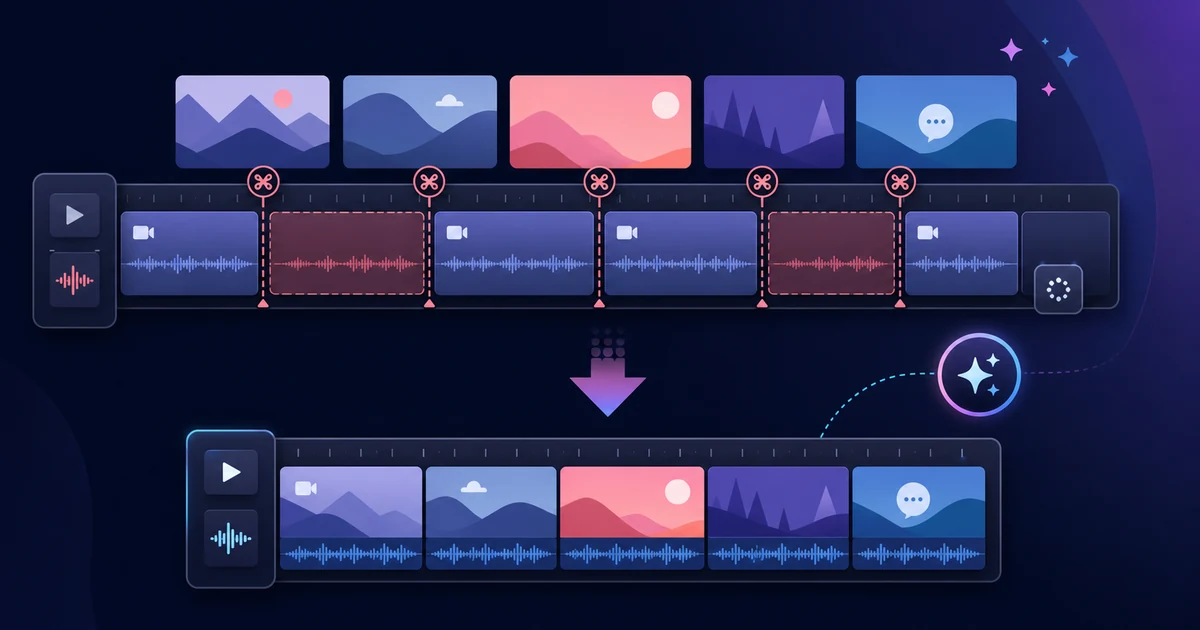
Silence Removal Is Not Just About Making a Video Shorter
Cutting long pauses can make a video feel much better. But the wrong silence removal tool can also make the edit worse: clipped sentence endings, broken caption timing, awkward jump cuts, and a final video that feels cheap instead of polished.
So the first question should not be “How fast can it cut?” The better question is: what does it detect, and how much can you verify before rendering?
Use these six checks before choosing a silence removal tool for lessons, interviews, podcasts, product demos, or tutorial videos.
1. Does It Detect Only Silence, or Still Frames Too?
Basic silence removal tools look only at audio volume. If nobody is speaking, they cut. If there is sound, they keep the section. That works well for narration, podcasts, and many explanation videos.
But in video, the visual track can be the real problem.
- A slide stays on screen long after the speaker stops.
- A screen recording sits on the same window for too long.
- A product demo includes loading or waiting time.
- Background sound prevents a section from being detected as silent, even though the screen is not changing.
In those cases, audio silence detection may not be enough. Look for tools that can also handle motion stillness, subtitle patterns, or manual ranges.
VMAI's Auto Cut Editor, based on the current verified UI and code, supports audio silence detection, motion stillness detection, subtitle pattern logic, combined conditions, and manual editing. That means the workflow can handle both “no one is speaking” and “nothing is changing on screen.”
2. Can You Adjust Threshold and Margins?
The most common silence-removal failure is cutting too cleanly.
Human speech includes breath, hesitation, and short thinking pauses. Remove all of that and the video becomes shorter, but it can also become unnatural.
Two settings matter most.
| Setting | Why It Matters |
|---|---|
| Threshold | Decides what counts as silence or stillness. Too aggressive, and sentence endings disappear. |
| Before/after margins | Keep a small buffer around cuts. Without margins, the edit can feel harsh. |
A good tool should not stop at “automatic.” It should let you adjust the edit for the type of video you are making: more breathing room for a course, faster cuts for short-form content, and more natural rhythm for interviews.
3. Can You Preview the Reduction Before Rendering?
Silence removal is risky because the damage is hard to judge until you see the result. If a 20-minute source suddenly becomes 8 minutes long, you need to know whether that is a smart cleanup or an overcut.
That is why preview analysis matters.
Before rendering, you should be able to check at least:
- Original duration.
- Estimated edited duration.
- Reduction percentage.
- Detected silent segment count.
- Remaining sounded segment count.
In VMAI Auto Cut Editor's file-upload flow, preview analysis is designed to show original duration, edited duration, reduction, and segment counts before rendering. Those numbers help you catch aggressive settings before spending time on the final output.
4. Does It Export Only MP4, or Editor Timelines Too?
A silence removal result does not always need to be the final video. Often, the better workflow is to clean the long source first, then continue the creative edit in a dedicated editor.
That makes export formats important.
| Export Type | Best For |
|---|---|
| MP4 | A result video you can review or share. |
| WAV | Audio-focused cleanup. |
| Editor timeline | Cleaning cuts first, then continuing in an editing app. |
| Individual clips ZIP | Reviewing or recombining cut sections. |
The current VMAI Auto Cut Editor implementation includes export flows for MP4, WAV, Premiere Pro, DaVinci Resolve, Final Cut Pro, Shotcut, Kdenlive, and individual clips ZIP.
That difference matters. A tool that gives you only one rendered file and a tool that can hand off a timeline to your editor are useful in different workflows.
5. Can You Understand the Cost Before You Start?
Silence removal is not just analysis. It can involve rendering a new media file, so longer files may require more processing and cost.
When comparing tools, look beyond the headline price and ask when the tool shows the expected cost.
- Does it detect the source duration after upload?
- Does it show the estimated cost before rendering?
- Does it warn you if available Credits are not enough?
- If URL input is supported, is server-side download cost separated clearly?
VMAI localizes the cost term by interface language. In the English UI, the current verified flow calculates file input per started minute with a minimum of 1 Credit. URL input can add server-side download cost, so it is worth checking the estimate before starting the render.
6. Is It Easy to Keep the Source and Try Again?
Silence removal rarely becomes perfect on the first attempt. The right settings depend on the purpose of the video.
- Full lessons need enough breathing room to stay understandable.
- Interviews need silence reduction without removing emotional pacing.
- Shorts and reels may work better with faster cuts.
- Product demos should remove waiting time without rushing the important screen.
A good workflow should not overwrite the source file or force you to accept the first result. Treat automatic cutting as a way to create a strong first cleanup pass, then adjust threshold, margins, or export format as needed.
A Quick Checklist
| Check | Question to Ask | Verified VMAI Auto Cut Editor Flow |
|---|---|---|
| Detection method | Does it detect only silence, or stillness too? | Audio, motion, subtitle pattern, combined logic, manual editing |
| Tuning | Can you adjust threshold and margins? | Threshold, before/after margins, silent-section action |
| Preview | Can you estimate the result before rendering? | Preview analysis for file uploads |
| Export | Does it support editor handoff? | MP4/WAV/editor timelines/individual clips ZIP |
| Cost clarity | Can you see the estimate before starting? | Credit estimate shown in the UI |
| Retry workflow | Can you preserve the source and adjust? | Creates a new result; keeping the source is recommended |
The point is not “VMAI is automatically the best.” The point is that any silence removal tool should be judged against these practical checks before it becomes part of your workflow.
Who Should Try Automatic Cutting?
A silence removal workflow is especially useful if you:
- Manually cut long pauses from lecture recordings.
- Want to shrink interview footage before choosing story moments.
- Clean podcast audio before turning it into a video.
- Record product demos or screen captures with frequent waiting time.
- Want a finished VMAI video to feel a little tighter.
But be careful with music, cinematic pacing, or emotional scenes. In those videos, silence may be part of the edit, not a mistake.
Next Step
Before choosing a silence removal tool, ask these six questions:
- What does it detect?
- How much can you tune?
- Can you preview the result before rendering?
- Can it hand off to your editing workflow?
- Can you understand cost before starting?
- Can you keep the source and try again?
To test the workflow, open Auto Cut Editor with a short file and start with Preview. For a step-by-step walkthrough, follow Remove Silence with Auto Cut Editor.
Enjoyed this article?
Subscribe to get notified when we publish new posts. No spam, unsubscribe anytime.
Related Articles
Your AI Video Isn't Too Long. Its Scenes Are Repeating Themselves
If trimming seconds does not fix a slow AI video, look for repeated explanations, visuals, and emotional beats. Give every scene one distinct job before cutting useful detail.
The Video Ending Mistake That Wastes a Good AI Video
A polished AI video can still end without giving viewers a clear next step. Design the video ending around one outcome, one call to action, and one trust cue before you render.
Why AI Videos Look Like Random Stock Footage
Even relevant visuals can feel random when color, framing, subjects, and motion change without a rule. Use a simple video style guide to make an AI video feel like one story before rendering.
Comments
Please login to leave a comment
LoginNo comments yet. Be the first to comment!