
What you'll learn
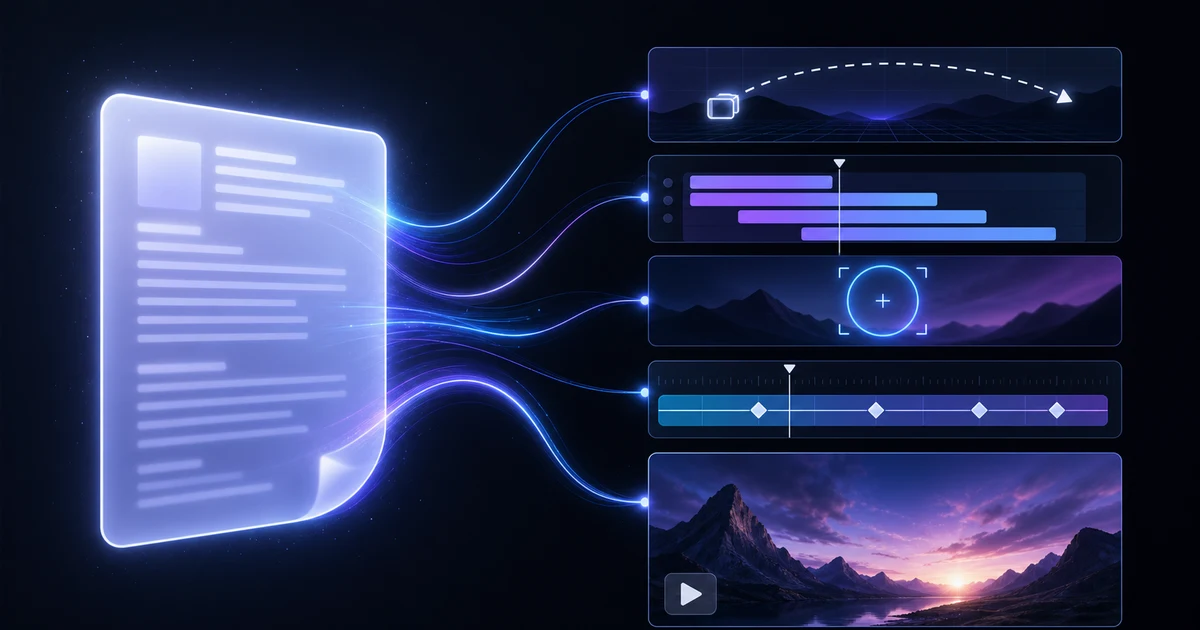
This guide is not a click-by-click walkthrough of the VMAI interface. It teaches you how to write better motion clip prompts so the generated result is easier to review, edit, and render. Whether you start with a background image or build a no-media graphic from shapes and text, a structured prompt gives the AI a clearer job.
By the end, you will have:
- A prompt structure that separates camera motion, text, and annotations.
- A timing plan for short 5–10 second clips.
- Layer-friendly instructions that make later edits easier.
- Prompt examples you can paste into VMAI Motion Clip Generator.
Before you start
You need only a few decisions.
- One image you want to animate, or a no-media motion graphic idea.
- The clip job: hook, transition, explanation, or closing.
- A rough duration; 5–8 seconds is a good first draft.
- Whether the final video already has captions.
- The estimated Credits you are willing to spend before rendering.
When those decisions are clear, you spend less time choosing between confusing variations.
The base template
Copy this structure and replace the brackets.
text[Clip job]
This clip is for [hook / transition / explanation / closing].

[Input]
The background image shows [what matters in the image].
Or: build this with no media using [shapes / text / lines / background colors].

[Timing]
Total duration is [5–10 seconds].
0–2s: [first movement]
2–5s: [main emphasis]
After 5s: [hold / finish]

[Layers]
Camera: [zoom / pan / hold]
Text: [short phrase, or “no text”]
Annotation: [circle / rectangle / arrow / highlight, one or two max]

[Constraints]
Do not cover the important subject. Avoid black borders. Do not add extra text.
The point is simple: do not cram everything into one sentence. Separating job, timing, layers, and constraints makes the priority easier to understand.
Step 1: Choose one job for the clip
Start by deciding why the clip exists.
- Hook: hold attention at the beginning.
- Transition: move into the next chapter.
- Explanation: emphasize a specific object or step.
- Closing: reinforce a CTA or summary.
“Make this product image dynamic” is vague. “Create a 7-second explanation clip that highlights the button viewers may miss” is actionable. Once the job is clear, unnecessary effects become easier to remove.
Step 2: Describe the source image in words
Even when you upload a background image, describe what matters in it. The AI can analyze the image, but the prompt tells it what you care about.
Weak prompt:
textAnimate this image nicely.
Better prompt:
textThis image is centered on a dashboard inside a laptop screen. Move attention from the chart on the left to the download button on the right, then highlight only the button at the end.
No-media prompts need the same clarity.
textCreate a 6-second no-media transition clip on a dark navy background. Use thin lines, small dots, and one short text line to show the flow from “idea” to “video.”
Step 3: Split timing into seconds
Motion clips are short, so a simple beginning-middle-end timeline improves the result.
textTotal duration is 6 seconds.
0–2s: show the full image and slowly zoom in.
2–4s: move attention toward the lower-right button.
4–6s: add a thin highlight rectangle around the button and hold the camera.
Without timing, every effect may appear at once. Text and annotations usually work best after the camera slows down.
Step 4: Separate camera, text, and annotation instructions
Good prompts behave like layer notes. That makes revisions much easier.
textCamera: slowly move from the center toward the right-side button, then hold for the final two seconds.
Text: show only one line, “Export ready,” fading in at 3 seconds.
Annotation: add a thin blue rectangle highlight around the button at 4 seconds.
For Korean clips, rewrite the text layer in natural Korean instead of translating literally.
textText: show only one Korean line, “내보내기 준비 완료,” at 3 seconds.
If you do not want text, say so directly: “no text.” That helps prevent decorative title layers you did not ask for.
Step 5: Add negative instructions
A motion prompt should include what not to do.
| Situation | Helpful constraint |
|---|---|
| The final video already has captions | Do not add large text |
| Product image emphasis | Do not cover the product center |
| Image contains a logo | Do not place annotations over the logo |
| Large zoom or pan | Avoid black borders |
| Short chapter transition | Limit the clip to two effects or fewer |
Constraints do not make the result boring. They make it safer to use in an edit.
Step 6: Review editability before polish
When the first result appears, do not ask only “does it look good?” Ask:
- Does the important object stay visible?
- Can the text be read within the clip duration?
- Does the annotation appear at the right moment?
- Does the camera motion interfere with captions or key UI elements?
- Do duration and estimated Credits still fit the goal?
Keep revision requests small.
textKeep the camera motion, but remove only the text layer.
textKeep the highlight, change it to purple, and make it appear one second later.
Small edits are easier to compare than regenerating everything from scratch.
Copy-ready prompt examples
Image-based hook
textThis is a 6-second opening hook.
The background image is a mountain and lake landscape.
0–3s: slowly zoom toward the center of the lake.
3–6s: gently pan toward the mountain ridge with a subtle light reveal.
No text. Keep the motion smooth and not too flashy.
Product highlight clip
textThis is a 7-second feature explanation clip.
The lower-right button is the key subject.
0–2s: show the full screen.
2–5s: slowly move toward the button.
5–7s: add a thin rectangle highlight around the button and hold the camera.
Do not add large text, and do not cover the button.
No-media chapter transition
textCreate a 5-second no-media chapter transition.
Use a dark navy background with thin lines and small dots moving from left to right.
At 2 seconds, fade in the short title “Step 2.”
Hold still for the final second.
Keep it calm; avoid flashy transitions.
Troubleshooting prompts
| Problem | Likely cause | Revision prompt |
|---|---|---|
| Too busy | Too many effects at once | “Sequence the camera, text, and annotation instead of showing them together.” |
| Text is unreadable | Text is too long or disappears too quickly | “Shorten the text to one line and keep it visible for at least 3 seconds.” |
| Highlight misses the target | Target was not described clearly | “Highlight only the blue button in the lower-right corner.” |
| Black borders appear | Pan or zoom is too wide | “Keep the zoom range safe so no black borders appear.” |
| Hard to edit | Instructions were merged together | “Structure the result as separate camera, text, and annotation layers.” |
Next step
Once your prompt is ready, test it in Motion Clip Generator with a short duration first. If you want the strategy behind when to use motion clips at all, read Before You Turn a Still Image into Video: 6 Motion Graphics Decisions.
Tutorial Complete!
You've read this tutorial. Move on to the next step.
Found this tutorial helpful?
Subscribe to get notified when we publish new tutorials and guides. No spam, unsubscribe anytime.
Comments
Please login to leave a comment
LoginNo comments yet. Be the first to comment!