
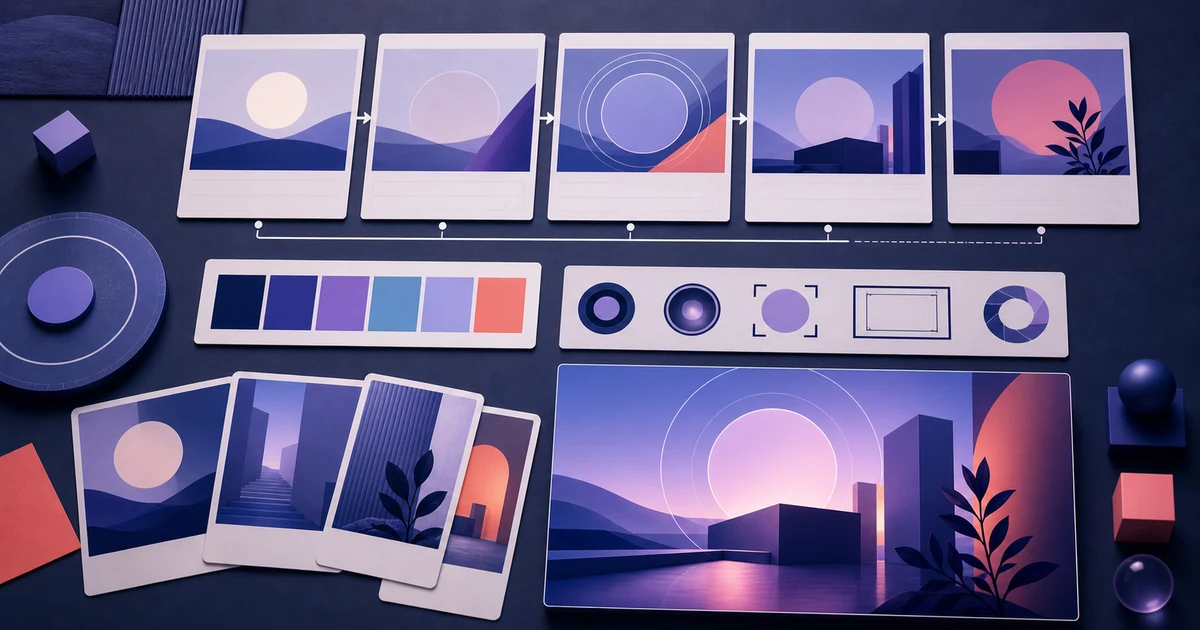
What you will prepare
In this guide, you will build a one-page video style guide that keeps an AI video from feeling like a collection of unrelated stock clips.
This is not a click-by-click UI tutorial. It is a planning and review workflow: define the visual standard before creating the video, then use that standard when you review automatically selected media in VMAI.
By the end, you will have:
- a one-sentence visual promise;
- three style keywords;
- rules for color, framing, and motion;
- anchor-image candidates;
- a visual exclusion list;
- a scene-by-scene review table.
Step 1: Write the visual promise in one sentence
Start with how the video should feel as a world, not only what it explains.
Complete this sentence:
textThis video shows ___, for ___, in a ___ visual world.
Example:
textThis video shows a simpler production workflow, for solo creators, in a calm and practical working environment.
A useful visual promise names:
- who is watching;
- what situation the scenes should show;
- what atmosphere should connect them.
If the purpose and source material are still unclear, create a one-page AI video production brief first. The production brief defines what you are making. The style guide defines how it should look.
Step 2: Turn three style keywords into visible rules
Choose only three keywords. More than that usually makes the review standard fuzzy.
Example keywords:
- calm;
- practical;
- organized.
Now translate each one into something observable.
| Keyword | Visible rule |
|---|---|
| Calm | Favor slow pans over fast zooms; keep each frame focused on one subject |
| Practical | Prefer real workspaces and hands-on actions over abstract AI imagery |
| Organized | Use simple backgrounds, medium framing, and one or two accent colors |
This table turns a subjective feeling into a decision: keep, change, or reject.
Step 3: Define color and lighting
Color is one of the fastest ways to make separate scenes feel related. Decide four things:
- base temperature: warm, neutral, or cool;
- accent color: one or two colors that can repeat;
- colors to avoid;
- lighting character.
Example:
textBase: cool blue-gray
Accents: violet and light cyan
Avoid: orange neon and heavily saturated red
Lighting: soft indoor light; avoid hard backlighting
The images do not need identical color grading. They do need to stay inside a recognizable range unless the story gives the change a purpose.
Step 4: Set framing and camera-distance rules
Choose the distances that should repeat.
- Wide scene: introduces place and context.
- Medium scene: shows someone working or using a product.
- Close scene: emphasizes a hand, control, or product detail.
You can use all three, but define the mix.
Example:
textPrimary framing: medium work scenes, about 60%
Supporting framing: hands and product details, about 30%
Location setup: wide scenes, about 10%
Avoid: unrelated aerial footage and extreme face close-ups
When camera distance changes constantly, each scene can feel like a new location and cast. Repeating one or two default framings helps different assets belong together.
Step 5: Define motion and transition intensity
If the sequence mixes still images and video clips, match their pace.
Decide:
- still images: no motion, slow pan, or slow zoom;
- video clips: locked camera, slow movement, or fast action;
- transitions: straight cut, short fade, or directional transition;
- exclusions: spins, aggressive zooms, and a different effect on every scene.
Example:
textUse only slow pan or zoom on still images.
Favor locked or gently moving video clips.
Use straight cuts and short fades as the default transition language.
Motion is not decoration that makes every scene demand attention. It is a pacing system that helps the viewer move to the next idea.
Step 6: Choose anchors and exclusions together
Select two to four images that can define the visual system.
Useful anchor candidates include:
- the opening image;
- a repeated person or location;
- a product or service proof scene;
- the final action scene.
When you add your own images during VMAI job setup, AI can assign them to matching segments. If you need help choosing safe, useful assets, follow the guide to preparing a media pack for better video matching.
Then write an exclusion list.
textDo not use:
- exaggerated humanoid robots;
- neon cities unrelated to the real workflow;
- generic handshake scenes;
- different-looking protagonists in a continuous story;
- images containing unreadable fake interfaces.
The exclusion list makes candidate review faster because it removes familiar but off-direction choices early.
Step 7: Give every scene a visual job
Read the script or captions scene by scene. Assign one visual job to each segment.
| Scene | Narration job | Visual job | Locked? |
|---|---|---|---|
| 1 | Name the problem | Show repetitive work in a calm workspace | Lock an anchor image |
| 2 | Explain the cause | Show cluttered files with organized framing | Review automatic candidates |
| 3 | Present the method | Show one person following a simple sequence | Review automatic candidates |
| 4 | Add a caveat | Contrast excessive and focused choices | Replace if needed |
| 5 | Give the next action | Bring prepared assets and the finished result into one frame | Lock an anchor image |
This table describes what each visual must do, rather than listing search keywords. A beautiful candidate can still be wrong if it does not perform the scene’s job.
Step 8: Review VMAI media as a sequence
VMAI can analyze subtitle content and automatically search for suitable images and videos. Before rendering, Media Review shows the selection for each segment. You can use Change to find another candidate or Upload to use an approved asset.
Review in this order:
- Scan the first five scene thumbnails together.
- Find one scene that breaks the style guide.
- Label the mismatch: color, framing, subject, or motion.
- Change only that scene or upload an anchor replacement.
- Check whether the opening and ending look like they belong to the same video.
- Read the exclusion list once more before approving every segment.
Copy-ready video style guide
textVideo Style Guide

1. Visual promise
This video shows ___, for ___, in a ___ visual world.

2. Three keywords
- ___ → visible rule: ___
- ___ → visible rule: ___
- ___ → visible rule: ___

3. Color and lighting
- Base temperature: ___
- Accent color: ___
- Colors to avoid: ___
- Lighting: ___

4. Framing
- Primary distance: ___
- Supporting distance: ___
- Framing to avoid: ___

5. Motion
- Still images: ___
- Video clips: ___
- Transitions: ___
- Effects to avoid: ___

6. Anchor images
- Opening: ___
- Core proof: ___
- Final action: ___

7. Exclusions
- ___
- ___
- ___

8. Final review
- Do the first five scenes look like one video?
- Can I explain why the most distracting scene feels different?
- Do the opening and ending follow the same visual rules?
Keep this guide next to the production brief during Media Review. It helps you move beyond finding individually relevant scenes and choose a sequence that feels like one designed video.
Tutorial Complete!
You've read this tutorial. Move on to the next step.
Write a 60-Second FAQ Video Script for VMAI
Write a Video Ending with One Clear Next Step
Found this tutorial helpful?
Subscribe to get notified when we publish new tutorials and guides. No spam, unsubscribe anytime.
Comments
Please login to leave a comment
LoginNo comments yet. Be the first to comment!