
What you will prepare
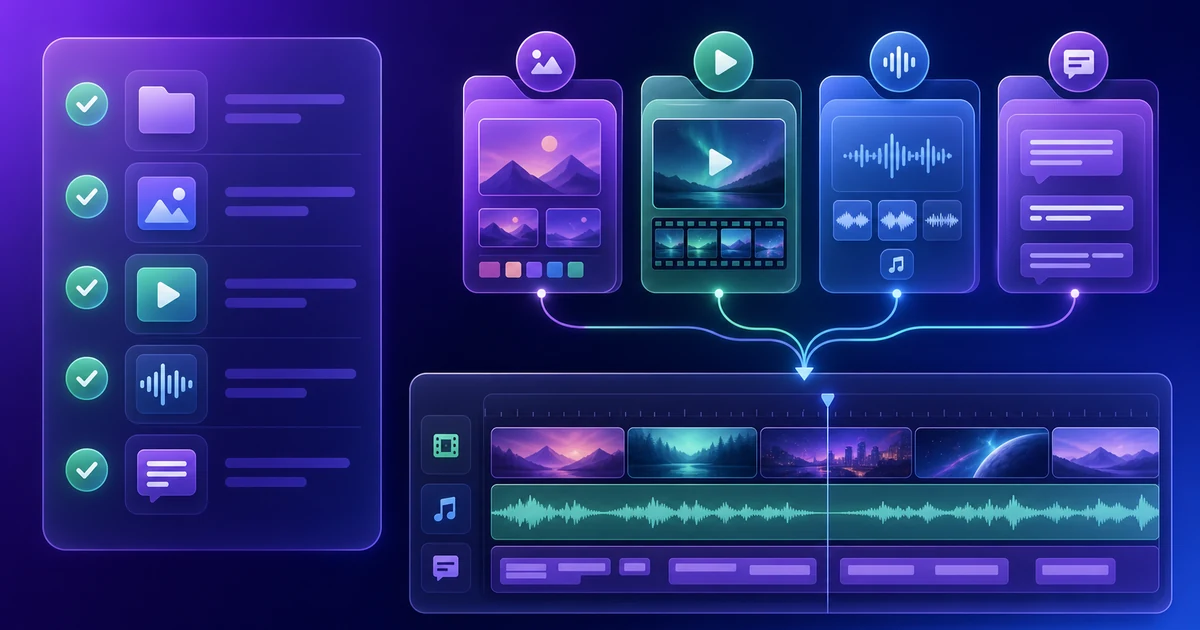
This is not a click-by-click UI walkthrough. It is a media library planning checklist to use before you create another VMAI video. If you decide file names, tags, sets, and sensitivity rules before uploading or rendering, repeat production becomes faster and safer.
By the end, you will have:
- a list of reusable image, video, audio, and subtitle assets;
- a filename rule that makes assets searchable;
- tag and favorite rules for VMAI Media Library;
- a Media Set rule for reusable images and videos;
- a decision rule for fresh uploads versus library reuse;
- a sensitivity checklist before deletion, bundling, or reuse.
Step 1: Sort assets by role
Start by sorting files by what they do in the video, not by file format. The same image can be a must-use brand asset in one video and only a background reference in another.
| Role | Examples | How to keep it |
|---|---|---|
| Fixed brand assets | Logo, hero product shot, public UI image | Keep the latest version and tag it clearly. |
| Scene support assets | Event photo, product-in-use shot, background image | Note which scenes it supports. |
| Repeat audio | Music bed, short sound effect, draft voiceover | Check usage rights and whether it expires. |
| Subtitle/script assets | SRT/VTT, translated captions, review script | Include language and version in the filename. |
| Hold assets | Screenshots with sensitive data, internal review images | Do not put them into sets until reviewed again. |
The key question is: “Can AI choose something similar, or must this exact file appear?” Must-use files should be easy to find again.
Step 2: Write filenames like search terms
A media library only works if future you can find the file. Avoid camera-default filenames and date-only names.
A simple pattern is:
textbrand-role-status-language-version
Examples:
textvmai-logo-final-public-2026
product-dashboard-screenshot-ko-approved
campaign-summer-hero-image-v2
lesson-intro-bgm-approved
subtitle-demo-en-v1
You do not need long filenames. But try to include at least three of these signals:
- brand or project;
- asset role;
- public/private status;
- language;
- version or campaign;
- special note such as
do-not-crop,internal, orneeds-blur.
Step 3: Keep tags small and consistent
Tags work best when they are repeated consistently. If every project invents new tag names, search becomes noisy.
Start with three layers.
| Tag layer | Examples | Purpose |
|---|---|---|
| Asset type | logo, product, screenshot, bgm, subtitle | Quickly identify the kind of file. |
| Status | approved, draft, private-check, expired | Decide whether it can be reused. |
| Use context | intro, tutorial, campaign, shorts | Find assets that fit the next video. |
Use favorites differently from tags. Favorites should mean “used often in the current campaign,” not “might be useful someday.” Otherwise the favorite list becomes another cluttered folder.
Step 4: Build Media Sets around images and videos
VMAI Media Sets are best for groups of images and videos that you often load together when creating a new video. A good set contains visual assets that are likely to travel together again.
Name sets by their purpose, not by the fact that they are a set.
| Weak name | Better name |
|---|---|
set1 | brand-intro-public |
images-final | product-demo-approved |
campaign | summer-2026-cta-assets |
screenshots | tutorial-ui-ko-approved |
Choose a matching mode for the set too.
- 1 image → 1 segment: use when a product shot or explanation image must land on one specific scene.
- 1 image → multiple segments: use when a logo background, campaign key visual, or mood image can support several scenes.
Audio and subtitle files can still be organized in the library, but they are usually better treated as supporting references rather than bundled with visual Media Sets.
Step 5: Decide fresh upload versus library reuse
Before opening Create New Video, divide the project's media into three columns.
| Column | When to use it | VMAI choice |
|---|---|---|
| Fresh upload | A new file that is not in the library yet | Upload it, then name and tag it. |
| Reuse from library | An already-approved brand image or product shot | Select it from the library to avoid duplicate uploads. |
| Load as set | A repeatable group used across several scenes | Load the Media Set at once. |
When you reuse an existing library item, you avoid creating another copy of the same asset. If the source file has changed, upload the new file and name it so it does not get confused with the older version.
Step 6: Check sensitivity and expiry first
The best library asset is not only attractive. It is safe to reuse publicly. Before putting a file into a set, check:
- Does it show an email, phone number, account name, order ID, customer name, token, or internal URL?
- Does it contain an expired price, benefit, or event date?
- Does it still show an internal review watermark or draft label?
- Are subtitle files and translations separated by language and version?
- Are audio or music files clear on usage rights and retention needs?
- Is a tool output better managed from the owning tool history instead of the library?
If sensitivity is uncertain, do not bundle the asset. Tag it with something like private-check and review it again before reuse.
Copyable checklist
markdown# Media Library Planning Checklist

## 1. Assets likely to repeat
- Brand logo:
- Product/service images:
- Public UI screenshots:
- BGM/audio:
- Subtitle/SRT/VTT:

## 2. Filename rule
- Brand/project:
- Role:
- Status (public / approved / draft / private-check):
- Language:
- Version:

## 3. Tag rule
- Type tags:
- Status tags:
- Use-context tags:

## 4. Media Set candidates
- Set name:
- Images/videos to include:
- Matching mode: 1:1 / 1:N
- Files to exclude:

## 5. Sensitivity check
- No account/customer/payment/internal URL data:
- No expired price or campaign claim:
- Latest public-safe version:

## 6. Decision before creating the video
- Files to upload fresh:
- Files to reuse from library:
- Files to load as a set:
Next step
Once the rules are clear, open Media Library and organize names, tags, favorites, and sets. If you want a deeper guide on choosing source images before AI matching, read Prepare a User Media Pack for Better Video Matching.
Tutorial Complete!
You've read this tutorial. Move on to the next step.
Found this tutorial helpful?
Subscribe to get notified when we publish new tutorials and guides. No spam, unsubscribe anytime.
Comments
Please login to leave a comment
LoginNo comments yet. Be the first to comment!